How to Change Your Own Engine Oil and Filter (And Why Quick-Lube Shops Strip Your Drain Plug)
By DealShore Motors
The $4 Part That Causes $600 Repairs
Your oil drain plug costs about four dollars. The aluminum oil pan it screws into costs four to seven hundred. Quick-lube shops destroy the threads between those two parts every single day — and the physics is brutally simple: a steel plug, a soft aluminum pan, and a technician paid by the car, not by the hour, spinning that plug back in with an impact gun instead of a torque wrench.
Sometimes the damage shows up the same week, as a slow drip on your driveway. Sometimes the wounded threads hold on for exactly one more oil change — and then the plug spins freely in the hole, the pan is junk, and you’re paying for a repair that costs more than a decade’s worth of oil filters.
Here’s the good news: changing your own oil takes 45 minutes, costs about $40 in supplies, and ranks two wrenches out of five on the difficulty scale. And nobody who owns a torque wrench has ever stripped a drain plug.
The 30-Second Version
- Warm the engine 2–3 minutes. Warm oil drains fast; hot oil burns you.
- Park on flat ground, set the parking brake, chock the rear wheels.
- Jack the car up and set it on jack stands. Never work under a car held up by a jack alone.
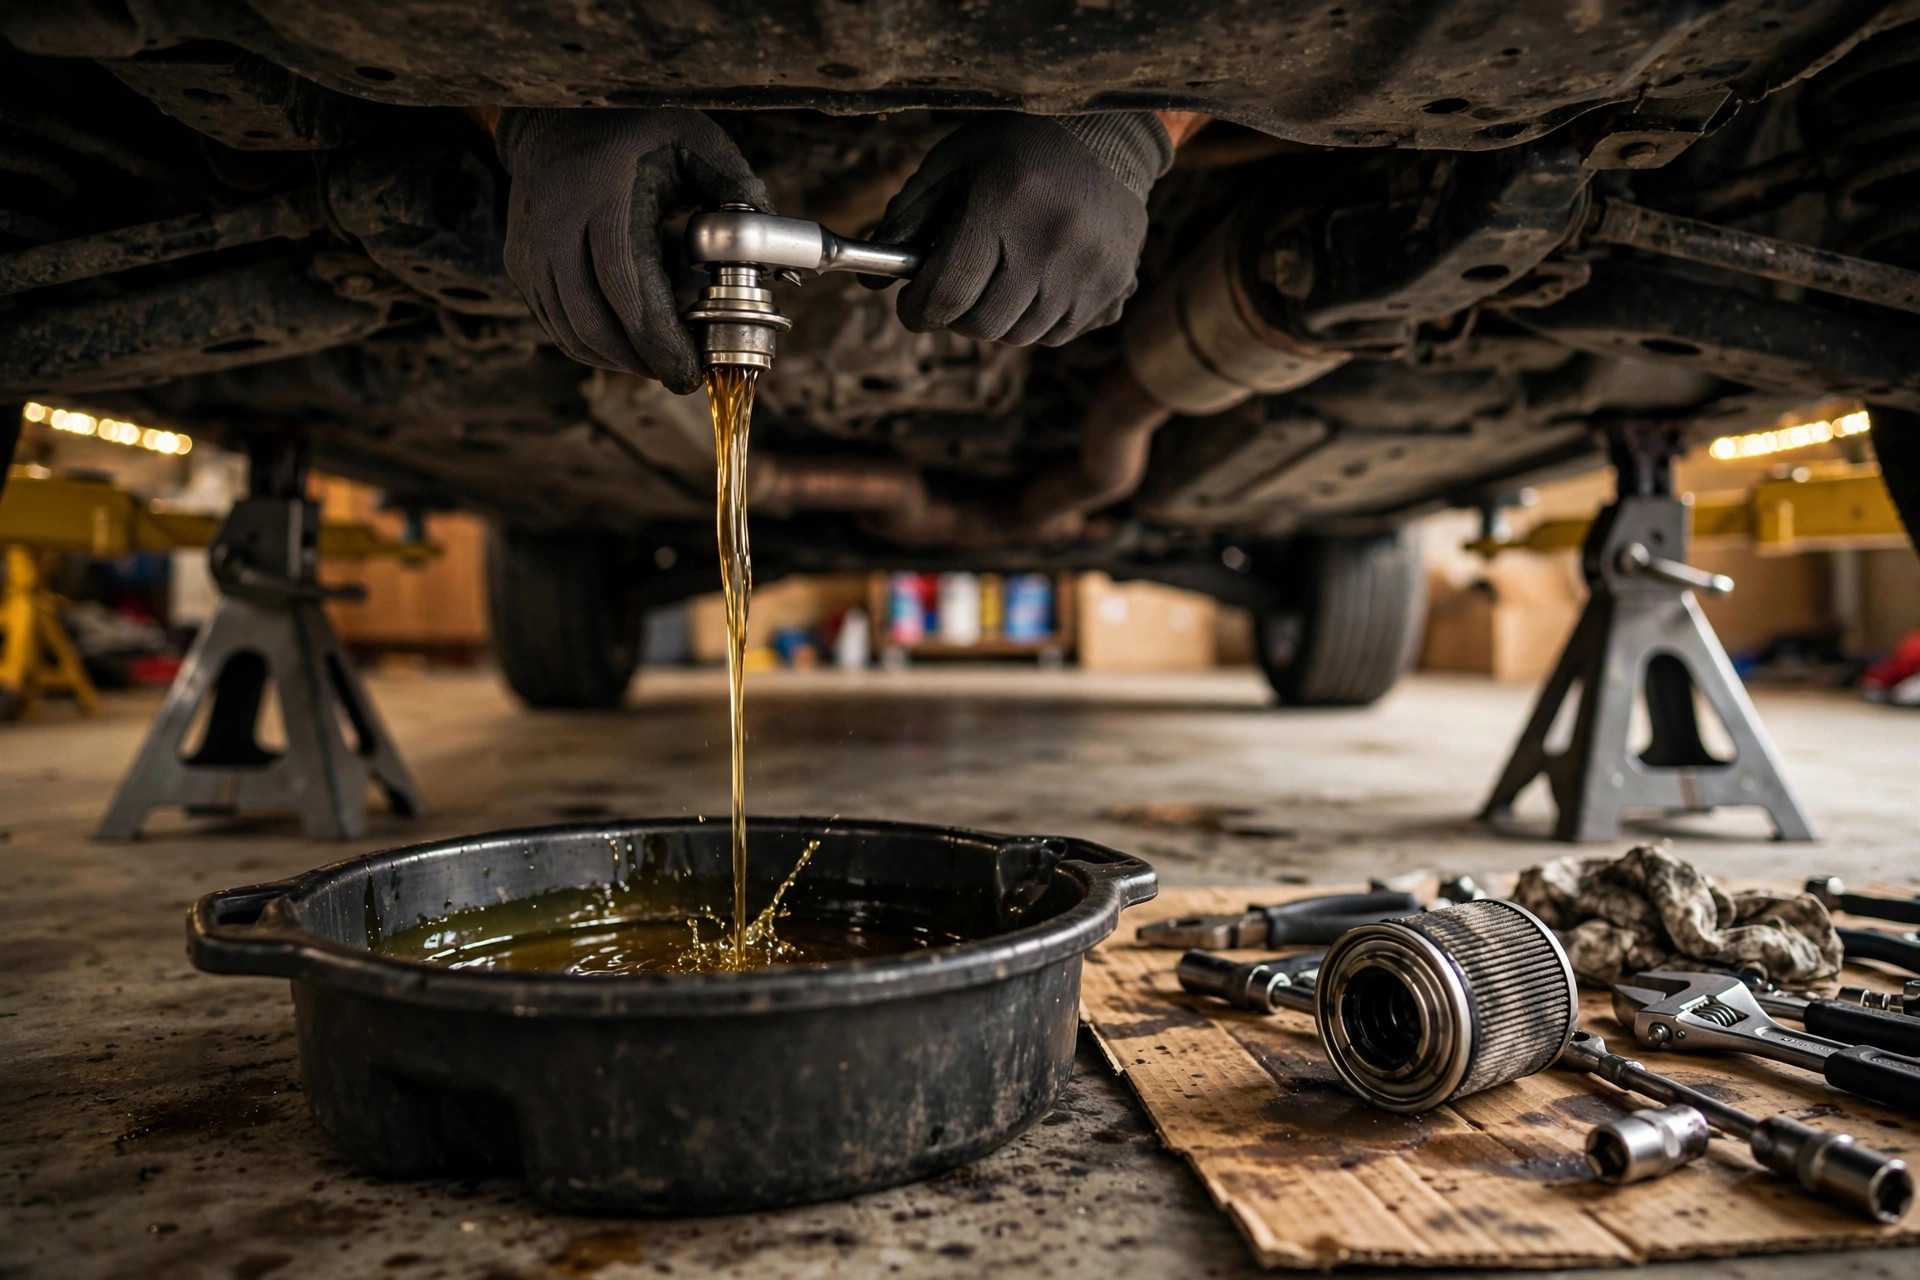
- Slide the drain pan underneath and remove the drain plug (13, 14, 15, or 17mm on most cars). Let it drain completely.
- Unscrew the old oil filter. Check that its old rubber gasket came off with it — not stuck to the engine.
- Smear fresh oil on the new filter’s gasket, spin it on hand-tight, then another 3/4 turn.
- Put a NEW crush washer on the drain plug, thread it in by hand, then torque to spec — typically 25–35 ft-lb (34–47 N·m). Your owner’s manual has the exact number.
- Lower the car, pour in the new oil through a funnel.
- Start the engine for 30 seconds, shut it off, check underneath for leaks.
- Wait two minutes, check the dipstick, top up if needed.
- Pour the old oil into a sealed container and drop it at any auto parts store. They recycle it for free.
What You’ll Need
- Engine oil: the exact viscosity printed on your oil cap or in the owner’s manual — 0W-20 on most modern cars. Full synthetic, API SP certified (the current gasoline-engine standard). A compact sedan takes under 4 quarts; a V8 truck can take 8 or more. Buy one extra quart beyond the manual’s capacity.
- Oil filter: the exact part number for your car. OEM or a quality aftermarket brand (Wix, Mann, Mobil 1, Bosch). Not the cheapest no-name can on the shelf — we’ll explain why below.
- Drain plug crush washer: new, every single time. About $1. A crush washer is a soft metal ring that deforms to seal the plug against the pan. Reusing a crushed one is how slow leaks start.
- Socket set: 13mm, 14mm, 15mm, or 17mm for the drain plug depending on the car, plus a 3/8″ ratchet.
- Oil filter wrench: a cap-style wrench sized for your filter, or a universal strap wrench.
- Floor jack and two jack stands.
- Oil drain pan that holds at least 2 gallons.
- Funnel, nitrile gloves, rags, and cardboard for the driveway.
- A torque wrench. This is the tool that keeps your drain plug alive. More on that below.
Time: 45–60 minutes the first time, about 30 once you’ve done it. Difficulty: 🔧🔧 out of 5.
Safety First — Read This Before You Touch Anything
Hot oil burns. Warm the engine for 2–3 minutes so the oil flows freely — not 20 minutes after a highway run. If the dipstick handle is too hot to hold comfortably, wait.
Never get under a car supported only by a floor jack. Jacks can fail without warning; jack stands don’t. Stands on flat, solid pavement, wheels chocked, parking brake set, transmission in Park (or in gear for a manual). Not a sloped driveway, not soft dirt. If you’ve never done this before, read our jack-stand safety guide first — it’s the most important article in this entire series.
Wear eye protection. A face full of used motor oil ruins a Saturday.
Step-by-Step: The Full Oil Change
1. Get everything within arm’s reach. Oil, filter, new crush washer, sockets, filter wrench, drain pan, funnel, gloves, rags. Discovering you’re missing the filter wrench with the car already on stands is how shortcuts — and mistakes — happen.
2. Warm the engine 2–3 minutes. You want the oil warm enough to flow, not hot enough to scald. Two to three minutes of idling is the sweet spot.
3. Park, brake, chock. Flat ground. Parking brake on. Chock blocks (or bricks, or chunks of wood) behind the rear wheels. Pop the hood.
4. Lift and stand the car. Jack from a proper lift point (your manual shows them — usually the front subframe or reinforced pinch welds), then set the car down onto two jack stands. Give the car a firm shake before you go under. If it moves, reset the stands.
5. Find the drain plug and position the pan. The drain plug is a single bolt on the lowest point of the oil pan — the metal reservoir bolted under the engine. Slide your drain pan underneath, offset slightly toward the rear: the oil will shoot out with surprising force at first.
6. Remove the drain plug. Fit the correct socket — no adjustable wrenches, which round off bolt heads. Turn counterclockwise. Once it’s loose, finish by hand, keeping inward pressure so the plug doesn’t drop into the pan. Pull your hand away fast as the last thread lets go. The oil comes out hot and fast.
7. Let it drain completely. Give it a full 10–15 minutes. While you wait, inspect the drain plug threads — if they’re flattened or the plug wobbles in the hole, the threads are damaged (see the stripped-plug section below).
8. Remove the old oil filter. It’s either a metal canister you unscrew (a spin-on filter) or a paper element inside a plastic/metal housing you open (a cartridge filter). Position the drain pan under it — it’s full of oil. Use the filter wrench only to break it loose; finish by hand.
9. Check the old gasket. This is the step everyone skips once, and only once. The old filter’s rubber gasket sometimes sticks to the engine instead of coming off with the filter. If you spin the new filter on over the old gasket, you get a double-gasket — and a double-gasket blows out under pressure, dumping your engine’s entire oil supply in seconds. Run your finger around the mounting surface. It must be clean bare metal.
10. Prep and install the new filter. Dip your finger in fresh oil and smear it on the new filter’s rubber gasket — this keeps it from binding and tearing. If it’s a spin-on filter mounted vertically, pre-fill it about halfway with fresh oil so the engine isn’t starved on first startup. Spin it on by hand until the gasket touches, then another 3/4 turn. That’s it. Do NOT crank it with the wrench — overtightened filters weld themselves on and crush the gasket.
11. Reinstall the drain plug — the right way. Thread it in BY HAND first, several full turns. If it resists early, stop — that’s cross-threading, and forcing it destroys the pan. It should spin in easily. Then fit your NEW crush washer and torque the plug to spec: typically 25–35 ft-lb (34–47 N·m), but your owner’s manual is the authority. This single step is the entire difference between you and the quick-lube shop.
12. Lower the car and add the new oil. Car back on the ground — the dipstick only reads correctly on level ground. Remove the oil fill cap, set the funnel in, and pour in about half a quart LESS than the manual’s capacity. It’s easy to add oil; it’s a pain to drain excess.
13. Start it and look for leaks. Start the engine, let it run 30 seconds, shut it off. Crawl under with a flashlight: the drain plug and filter must be bone dry. Check the dashboard — the oil pressure light should go out within seconds. If it doesn’t, shut the engine off immediately and recheck your work.
14. Check the dipstick — twice. Wait two minutes for the oil to settle. Pull the dipstick, wipe it, reinsert fully, pull again. The level should sit between the MIN and MAX marks. Top up in small pours until it’s near MAX, not over it.
15. Recycle the old oil. Funnel it into the now-empty new-oil bottles or a sealed jug. Every major auto parts store — AutoZone, O’Reilly, Advance, NAPA — takes used motor oil for free, usually up to 5 gallons a day. Never pour it down a drain or into the trash. One gallon of used oil can contaminate a million gallons of groundwater.
Why Quick-Lube Shops Strip Your Drain Plug
This isn’t a conspiracy theory — it’s an incentive problem, and understanding it is why the title of this article exists.
Impact guns. Many quick-lube techs run the drain plug back in with an air impact wrench. An impact gun can deliver 100+ ft-lb in a fraction of a second to a fastener spec’d for 30. The steel plug doesn’t care. The aluminum pan’s threads do — they stretch, deform, and eventually strip.
Flat-rate pay. Techs are paid per car, not per hour. A proper oil change with hand-threading the plug and torquing to spec takes a few minutes longer than zipping it in with the gun. Multiply that by 40 cars a day and the gun wins every time.
Reused crush washers. That $1 washer is supposed to be replaced every change. Shops reuse them to save seconds, which means the plug has to be overtightened to seal — accelerating thread damage.
Cross-threading. Starting a plug with a power tool instead of by hand is how threads get crossed. A hand-started plug that resists tells you something’s wrong. A gun-started plug just powers through and destroys the hole.
Aluminum pans. Older cars had steel pans that forgave abuse. Most modern engines use aluminum or composite pans to save weight — and aluminum threads are far less forgiving of over-torque.
None of this means every quick-lube visit ends in disaster. It means the failure mode is structural to the business model: speed pays, care doesn’t. Your driveway has no such conflict of interest.
Choosing the Right Oil (Without the Marketing Nonsense)
Viscosity: use exactly what the cap says. If your oil cap says 0W-20, use 0W-20. That number isn’t a suggestion — it’s what the engine’s oil passages, variable valve timing, and tolerances were designed around. Thicker oil in a modern engine doesn’t protect better; it flows worse on cold starts, which is when most engine wear happens.
Synthetic vs. conventional: synthetic wins, full stop. Full synthetic resists breakdown at high temperatures, flows better when cold, and safely goes the full manufacturer interval. Conventional oil is a false economy — you save $15 on the jug and give up half the protection.
Look for API SP on the bottle. API (the American Petroleum Institute) certifies motor oil, and SP is the current standard for gasoline engines. You’ll also see ILSAC GF-6 — same idea, a fuel-economy-focused certification. If you drive a GM vehicle, look for the dexos1 label too — GM requires it for warranty coverage.
“High mileage” oil isn’t magic. It’s standard oil with extra seal conditioners. Fine for a 150,000-mile engine with minor seeps; it won’t fix actual leaks or worn rings.
Choosing the Right Filter
A filter’s job is simple: trap particles without choking oil flow. Cheap filters cut corners on both — thin filter media, weak bypass valves, cardboard end caps instead of metal. On a part that costs $8–15 and protects a $5,000 engine, this is a terrible place to save $4.
Buy OEM or a reputable aftermarket brand. If your car uses a cartridge filter (a paper element inside a reusable housing — common on Toyotas, BMWs, and many newer cars), never overtighten the plastic housing cap. Toyota specs theirs at just 18 ft-lb (25 N·m); cracked housings from gorilla-tightening are a real and expensive failure. A proper cap wrench that fits the housing exactly beats a universal tool that slips and rounds the plastic.
Stripped It Already? Here’s How to Fix It
If the drain plug spins without tightening, or the threads look flattened, you have options — in order of cost:
- Oversize self-tapping drain plug (~$10). One size larger than stock, with threads designed to cut their own path. Works when the damage is moderate. Available at any parts store — bring the old plug to match it.
- Thread repair insert (~$50 for the kit). A steel insert (Time-Sert is the well-known brand) that gives the hole new, stronger threads. This is the permanent fix most good independent shops will do. The pan stays on the car.
- New oil pan ($400–$700 at a shop). The nuclear option, needed when the pan is cracked or the hole is wallowed out beyond repair.
And the prevention, forever after: hand-start the plug, new crush washer every time, torque wrench to spec. Thirty seconds of care versus a $600 pan.
The Math: DIY vs. the Shop
- DIY: 5 quarts of full synthetic ($28–35) + quality filter ($8–12) + crush washer ($1) = roughly $40–45.
- Quick-lube full-synthetic change in 2026: $75–120 depending on the market.
- Savings per change: $50–80. At two to three changes a year, that’s $150–240 back in your pocket — and a drain plug with intact threads.
7 Mistakes That Ruin an Otherwise Perfect Oil Change
- The double gasket. Old filter gasket stuck to the block + new filter = catastrophic leak. Check every time.
- Overtightening the filter. Hand-tight plus 3/4 turn. The wrench is for removal, not installation.
- Reusing the crush washer. A $1 part. Replace it.
- Forgetting the oil fill cap. The engine will paint your engine bay with fresh oil. Ask how we know.
- Overfilling. Too much oil gets whipped into foam by the crankshaft, and foam doesn’t lubricate. Slightly under MAX beats over MAX.
- Pouring new oil before the plug is back in. It happens more than anyone admits. Plug first, then pour.
- Skipping the leak check. Thirty seconds under the car with a flashlight after startup. Every time.
🛠️ Our Picks for This Job
TEKTON 24335 1/2″ torque wrench (10–150 ft-lb) — the single tool that makes stripped drain plugs impossible. Set it to your plug’s spec, tighten until it clicks, done. About $45, and you’ll use it on lug nuts, spark plugs, and suspension bolts for the rest of your life. See it on Amazon
Motivx MX2320 oil filter wrench — if you drive a Toyota, Lexus, or Scion with the cartridge-style filter housing, this CNC-machined cap wrench fits the plastic housing exactly instead of rounding it off like universal tools do. See it on Amazon
When you buy through our links, we may earn an affiliate commission at no extra cost to you.
Sources
- American Petroleum Institute — motor oil certification marks and the API SP standard: https://www.api.org/
- TEKTON 24335 torque wrench specifications and torque-wrench care: https://engineerfix.com/how-to-use-and-care-for-the-tekton-24335-torque-wrench/
Internal links to add at scheduling: #163 (jack-stand safety guide).
Leave a Reply