Engine Air Filter vs. Cabin Air Filter: The 5-Minute Swap Dealerships Charge $120 For
By DealShore Motors
The service advisor slides the estimate across the counter: $120 to change two air filters. Here is what that $120 actually buys — about $35 worth of pleated paper and roughly ten minutes of work, most of it with no tools at all. One filter lives under your hood. The other hides behind your glove box. Neither one requires a lift, a scanner, or mechanical talent. If you can open a lunchbox, you can do this job — and this guide walks you through both, in plain language, with every trap flagged before you hit it.
Your car has two air filters because it breathes in two places. The engine air filter cleans the air going into the engine so it can burn fuel. The cabin air filter (also called a pollen filter) cleans the air coming into the passenger compartment through the heating and air-conditioning system — the air you breathe. One protects the engine. The other protects your lungs. They are different parts, different sizes, different prices, and they wear out on different schedules. Confusing them is exactly how people end up paying for the wrong one — or paying a dealer to change both.
The 30-Second Version
- Buy the correct engine air filter and cabin air filter for your exact year, make, model, and engine — filters are model-specific, not universal.
- Engine off, parked, hood open. Find the airbox: the large black plastic box in the engine bay with a thick tube running to the engine.
- Unclip (or unscrew) the airbox lid, lift out the old engine filter, wipe loose leaves and dirt out of the empty box.
- Drop the new engine filter in with the rubber seal sitting flat and even, same orientation as the old one. Close and re-clip the lid.
- Empty the glove box. Squeeze its sides inward (or unhook the small damper arm on the side) so it swings fully down.
- Slide the cabin filter cover off, note the AIR FLOW arrow direction on the old filter, and pull the old filter out.
- Slide the new cabin filter in with its arrow pointing the same way. Refit the cover, swing the glove box back up, done.
Tools needed: none on most cars. Keep a Phillips screwdriver and a small flathead screwdriver or plastic trim tool nearby just in case. A few models need a 7 mm socket or a Torx T20 driver for glove box or airbox screws — check the exceptions section below before you start.
Socket sizes: none required on most cars; 7 mm on some Ford glove boxes, 8 mm on some airbox lids.
Estimated time: 5–10 minutes for both filters the first time; about 5 minutes once you have done it once.
Difficulty: 🔧 out of 5 wrenches — the easiest paying job on the car.
Engine Filter vs. Cabin Filter: The Honest Comparison
| Engine air filter | Cabin air filter | |
|---|---|---|
| Job | Filters air entering the engine for combustion | Filters air entering the cabin through the HVAC system |
| Location | Black plastic airbox in the engine bay | Usually behind the glove box; sometimes under the dash or under the hood at the base of the windshield |
| Typical part cost (DIY) | About $15–$40 | About $20–$50 |
| Typical dealer/shop charge | About $50–$100 fitted | About $50–$100 fitted |
| Common replacement guidance | Inspect at every oil change; replace roughly every 15,000–30,000 miles, sooner in dust | Roughly every 15,000–30,000 miles or about once a year; charcoal/odor types age out in about a year |
| Signs it is overdue | Sluggish acceleration, worse fuel economy, rough idle, visibly black filter | Weak airflow from vents, musty smell, more dust and pollen inside, foggy windows that clear slowly |
| What happens if ignored | Engine works harder for air; dirt can reach sensors and cylinders over time | Blower motor strains, A/C and heat feel weak, allergens and smells build up |
Intervals vary by manufacturer and driving conditions — your owner’s manual is the authority for your car. Figures above reflect common manufacturer guidance as of 2026.
Two brutal-honesty notes before we start. First: a new engine air filter will not add horsepower to a healthy engine, whatever the box claims. It restores the airflow the engine was designed for — nothing more. Second: if you drive an electric vehicle, you only have the cabin filter. There is no engine air filter on an EV, and anyone who tries to sell you one is selling you air.
What You Need Before You Start
- The two correct filters. Look them up by your car’s exact year, make, model, and engine size. The same model can use different filters with different engines. A parts-store counter or the fitment checker on the product page will confirm it — use it.
- Nitrile gloves (optional). A used cabin filter is a mat of dust, pollen, and whatever the road threw at it. You will be glad you are not holding it barehanded.
- A flashlight or phone light. The cabin filter slot is dark, and you need to read the airflow arrow.
- A small trash bag. Old filters shed grit all over your floor mat if you carry them loose.
Safety first — read this before you touch anything. The engine must be off with the key out (or key fob far from the car on push-button models) before you open the airbox. A running engine can pull a rag, a glove, or your fingers toward belts and fans, and running the engine with the airbox open lets unfiltered dirt straight in. Let a hot engine cool for a few minutes — parts around the airbox get hot enough to be unpleasant. This job needs no jack and no lifting, but if you pair it with an oil change or any work under the car, read our jack-stand safety guide first — a car belongs on stands, never on a jack alone — and our $250 starter tool kit guide covers the basic drivers this job occasionally needs.
Part 1: The Engine Air Filter (About 5 Minutes)
1. Find the airbox. Open the hood. Look for a large black plastic box, usually off to one side, with a wide ribbed tube running from it into the engine. That box holds the engine air filter. On most cars it is the biggest box in the bay that is not the battery.
2. Open the lid. Most lids are held by two to four spring clips you flip open by hand. Some use screws (Phillips, 8 mm, or Torx) around the edge — loosen them, but leave them in the lid so they do not get lost. Lift the lid just enough to work; the intake tube usually stays attached.
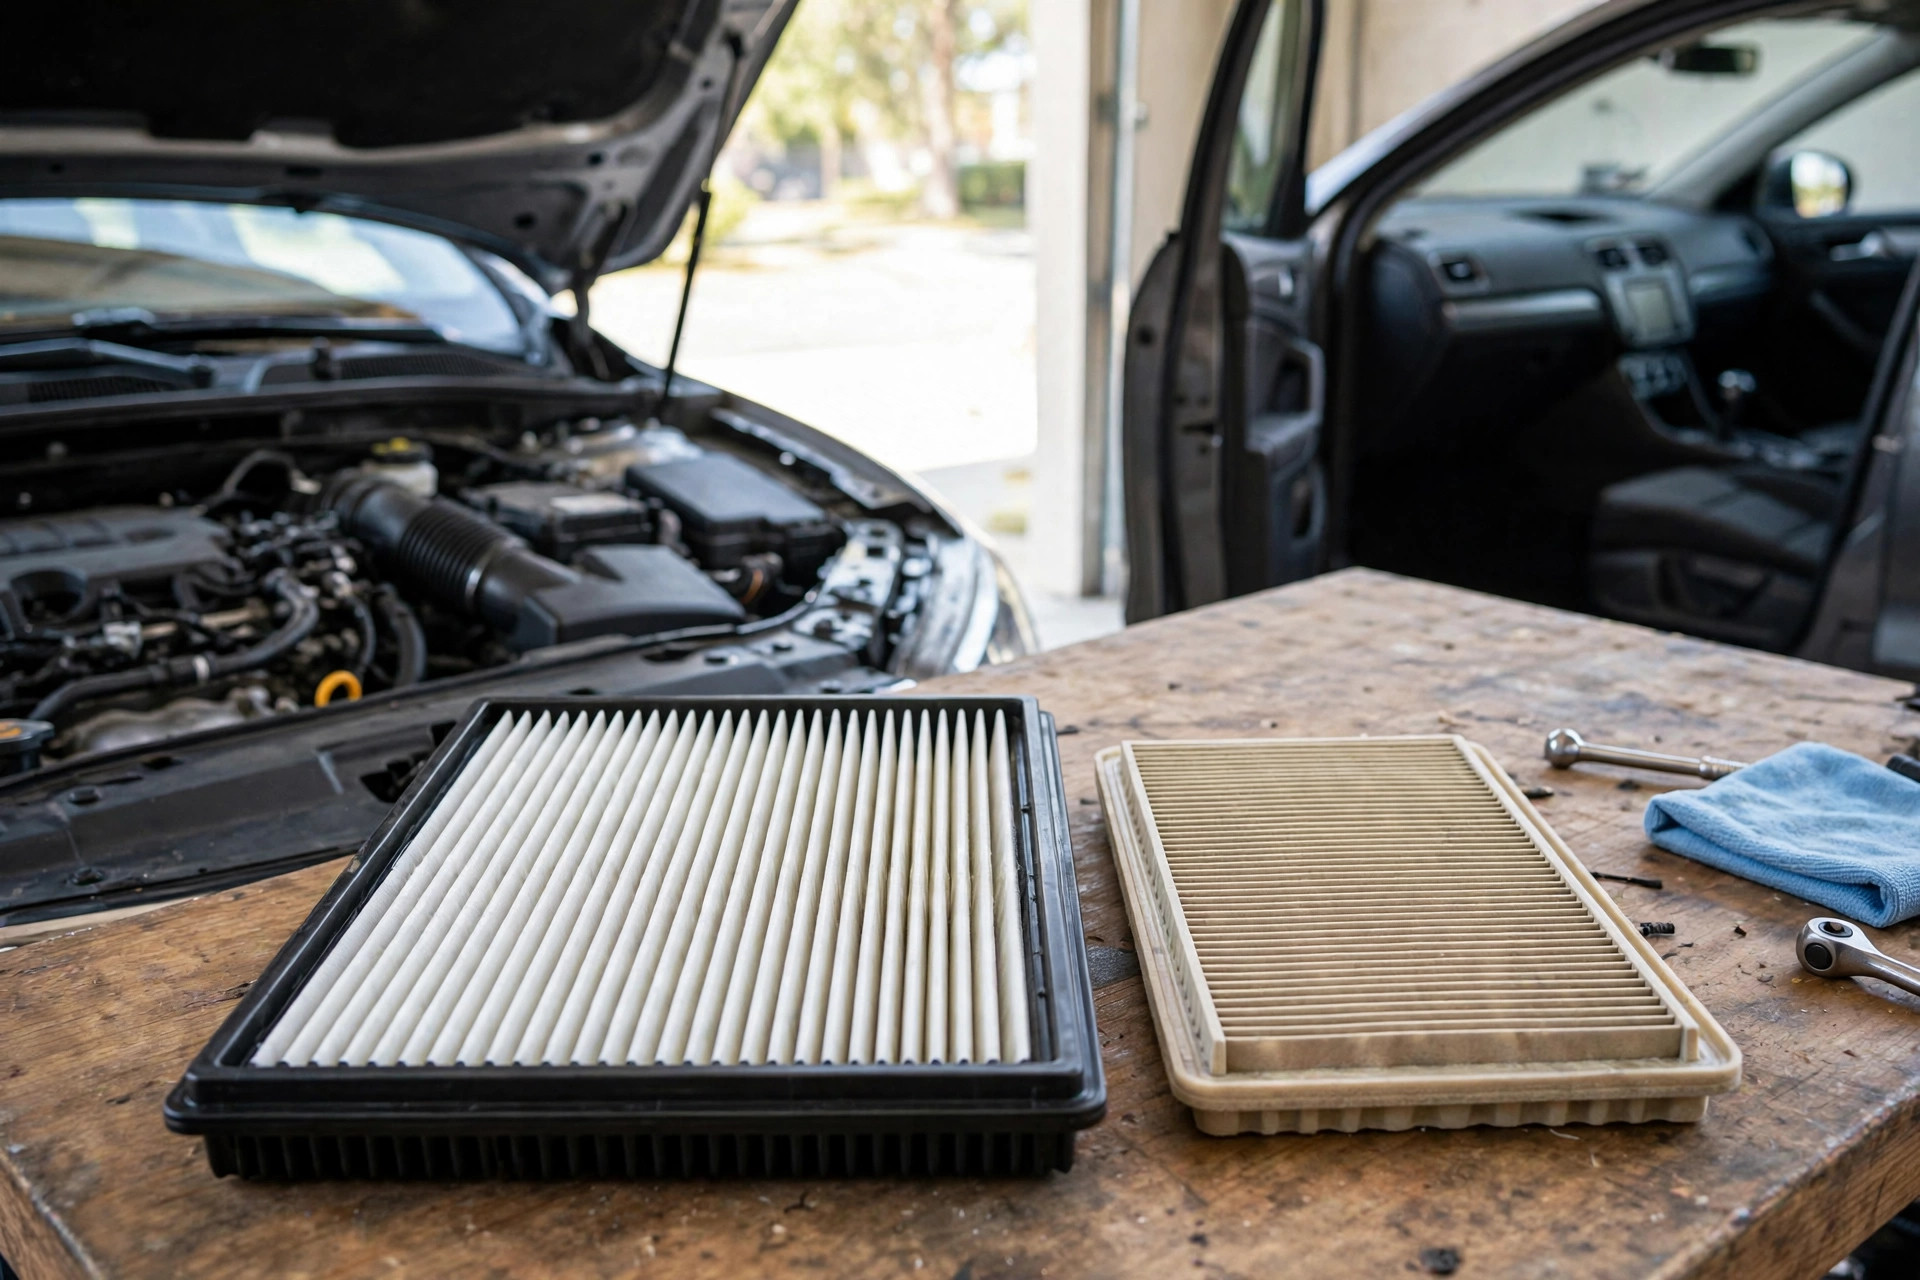
3. Lift the old filter out and look at it. Hold it up to the light. A healthy filter is off-white to light gray and lets light through the pleats (the folded zigzag paper). A dead one is dark gray or black, packed with grit, leaves, or insects. If you cannot see light through it, it was overdue.
4. Clean the empty box. Wipe or pick out leaves and loose dirt from the bottom of the airbox. Do not blast the inside with compressed air toward the engine side, and never bang the old paper filter out and reuse it — knocking dirt loose does not restore clogged pleats, and some of that dirt ends up on the clean side.
5. Seat the new filter. Drop it in exactly the way the old one sat, rubber seal flat and even all the way around. If the seal is bunched or the filter rocks in the box, it is the wrong part or it is upside down — an unsealed edge lets dirty air skip the filter entirely, which is worse than an old filter fitted properly.
6. Close the lid and re-clip. The lid should sit flush with even pressure. If a clip fights you, the filter is not seated — open it and check instead of forcing it. A forced lid warps, leaks air, and can trigger a check-engine light later.
7. The MAF warning. The MAF sensor (mass air flow sensor — the small sensor in the intake tube that measures incoming air) sits right past the airbox on many cars. Do not touch its element, do not spray cleaners into the intake, and do not start the engine with the lid open “just to hear it.” Dirt on that sensor causes rough idle and fault codes that cost far more than a filter.
Part 2: The Cabin Air Filter (About 5 Minutes)
1. Empty the glove box. Everything in it is about to try to fall on the floor. Bag it now.
2. Drop the glove box. On most cars you squeeze both sides of the open glove box inward so the rubber stops clear the dash, and it swings down. Many models also have a damper — a small arm or string on one side that slows the door. Unhook it gently with your fingers or a flathead screwdriver.
Warning before the clumsy step: the damper clip is the most commonly broken part of this entire job. It is small, plastic, and brittle on older cars. Pry it straight off its pin — do not yank the glove box down against it, or you will be buying a $15 clip and listening to your glove box slam forever.
3. Find the filter door. Behind where the glove box was, look for a slim rectangular cover, usually with tabs on one or both ends, sometimes marked with arrows. Squeeze the tabs and slide or swing the cover off.
4. Note the arrow — this is the step that matters. The side of the old filter is printed with AIR FLOW and an arrow showing which way air moves through it (on most cars, downward). Take a phone photo before you pull it out. A cabin filter installed backwards filters poorly and can whistle.
5. Pull the old filter straight out. Go slowly — a loaded filter dumps its dirt if you tilt and shake it. Note the color: owners are routinely shocked that the gray-black mat coming out was white a year ago. Slide it straight into your trash bag.
6. Slide the new filter in, arrow matching your photo. It should glide in flat. If it bunches, pull it out and try again — a folded filter leaves an open gap at the edge that unfiltered air rushes through.
7. Refit the cover, re-hook the damper, swing the glove box up. Run the fan on every speed and sniff the vents. Airflow should feel stronger and the musty smell should be gone within a day of driving. If airflow is still weak with a new filter, the problem is elsewhere — blower motor or debris in the housing — not the filter.
The Exceptions: Cars That Make This Annoying
Honesty cuts both ways: on most cars this is genuinely a 5-minute job, but some manufacturers hid the cabin filter like a puzzle box.
- Some Fords (Fusion and relatives): the glove box comes out with 7 mm bolts and a Phillips screwdriver, not a squeeze. Still DIY-able, just slower.
- Some older Nissans (Leaf, Altima era): the filter sits low behind the center console with a fragile lower clip, and the new filter has to be gently squeezed to fit through the opening. Fiddly, not hard.
- Some European models: the cabin filter lives under the hood at the base of the windshield, under a plastic cowl panel and weatherstripping. Different location, same principle.
- A few models genuinely bury it behind dash structure. If your manual shows trim or column parts coming off, paying a shop’s labor (owners report roughly $70–$115 total on awkward models) is reasonable — that is the exception, not the rule, and it is still worth asking what the charge is before you agree.
Also know this: some older or base-model cars have no cabin filter at all, and a few have an empty slot where one can be added. If you drop the glove box and find a blank panel, check the manual before you decide a previous owner lost it.
Paper, Charcoal, HEPA, or Washable? What to Actually Buy
- Standard paper (engine and cabin): the safe default. Filters well, costs least, replaced on schedule. For engine filters, buy a known brand or OEM — no-name filters are a recurring source of poor fit and seals that leak, which defeats the entire point.
- Activated carbon cabin filters: paper plus a charcoal layer that absorbs odors and some exhaust fumes. Worth the small premium if you drive in heavy traffic or hate the musty smell problem. The charcoal ages out in about a year even at low mileage, so calendar time matters, not just miles.
- HEPA-style cabin filters: finer filtration for allergy sufferers. They can restrict airflow slightly on weak blower motors — if your vents already feel feeble, fix that first.
- Washable/reusable filters (K&N-type): cost more up front, then get washed and reused. They can pay off if you keep the car for years and actually wash them on schedule. The honest trade-off: a washable filter you never wash is just an expensive dirty filter, and oiled engine filters must be oiled correctly — over-oiling can foul the MAF sensor described above.
Do both filters together. If one is choked, the other — breathing the same roads for the same miles — is usually close behind, and pairing them gives you one date to remember each year instead of two fading intentions.
What Owners Get Wrong (Paraphrased From Owner Forums)
The recurring complaints in model forums are not about the filters — they are about the surround: glove box contents dumped on the floor because nobody emptied it first, damper clips snapped by forcing the door, filters installed with the arrow backwards and then blamed for weak airflow, and the wrong part ordered because the same model name covers two different engines. Every one of those is a 30-second check in this guide, which is the whole reason the dealer version of this job is so profitable: the work is easy, the mistakes are what cost money.
DealShore Picks: Filters Owners Actually Use
Filters are model-specific — confirm fitment for your exact car on the product page before ordering. These three are research-backed starting points from owner data and long-running product lines, not first-hand test results:
Cabin filter for many Honda/Acura models: FRAM Fresh Breeze CF10134 cabin air filter — carbon plus baking-soda media aimed at odor control, fits a wide range of Honda Accord, Civic, CR-V, Odyssey, Pilot and Acura models. FRAM rates filtration at up to 98% of dust and pollen.
Cabin filter for many Toyota/Lexus models: EPAuto CP157 (CF12157) cabin air filter — fits 2016–2025 Toyota Camry, Corolla, RAV4, Prius, Highlander, Sienna and related Lexus/Subaru models; EPAuto recommends replacement every 12 months or 12,000 miles.
Engine air filter example (Nissan/Infiniti/Subaru fitments): FRAM Extra Guard CA4309 engine air filter — the long-running Extra Guard panel filter line, rated by FRAM for up to 12,000 miles of protection. Check the fitment chart — engine filters vary by engine, not just model.
When you buy through our links, we may earn an affiliate commission at no extra cost to you.
The Bottom Line
Two filters, two jobs, ten minutes, about $35 in parts. The engine filter keeps dirt out of your engine; the cabin filter keeps dust, pollen, and road smell out of your lungs. Change them together about once a year or every 15,000–30,000 miles — sooner if you drive on dusty or unpaved roads, where filters load up far faster than the book interval assumes. The dealer is not scamming you on the parts; the $120 is labor markup on a job with almost no labor. Keep that money. This is the first DIY job we recommend to anyone who has never opened a hood — start here, and the bigger jobs in this series stop looking scary.
Next in the DIY series: how to replace wiper blades without scratching your windshield. New guides every week from DealShore Motors.
Sources
- Manufacturer interval guidance and filter roles summarized from: PandaHub filter guide — https://www.pandahub.com/blog/how-often-to-replace-air-filter-in-car ; A-Premium, engine vs. cabin filter replacement — https://a-premium.com/blogs/replace-engine-and-cabin-air-filter-at-once ; United Tire, air and cabin filter intervals — https://www.unitedtire.com/about/blog/articleid/10868/how-often-to-replace-your-air-cabin-filters
- Cabin filter intervals (15,000–30,000 miles, roughly yearly; most makers near 15,000 miles) — Jalopnik: https://www.jalopnik.com/2019974/how-often-to-change-cabin-air-filter-when-its-time/
- DIY vs. shop cost ranges and awkward-access models — https://homeaddict.io/m-auto/afs/default/rsoc/94669616-f817-4970-8b77-33ce061d3702/learn-about-the-cabin-vs-engine-air-filter-interval-most-drivers-ignore?channel=Ch_54941
- Cabin filter locations and methods (glove box, under-dash, under-hood cowl; occasional screwdriver/Torx need) — The Drive cabin filter guide: https://www.thedrive.com/cars-101/36500/cabin-air-filter-guide
- Ford Fusion cabin filter tools (7 mm socket, Phillips) — Service Champ installation bulletin C36286/WCAF1908: https://www.servicechamp.com/INTERSHOP/static/WFS/HIGHLINE-SERVICECHAMP-Site/-/HIGHLINE/en_US/Cabin%20Installation%20Instructions/C36286-WCAF1908.pdf
- Product fitment and maker claims — Amazon listings linked in the picks box above (FRAM CF10134, EPAuto CP157, FRAM CA4309); verify fitment for your vehicle before ordering.
Intervals, prices, and fitments current as of October 2026 and vary by model and market — your owner’s manual wins any disagreement with this guide.
Leave a Reply